Getting Started [DRAFT]
The aim of this tutorial is to get an image-mode operating system that you can customised in a GitOps system running in a virtual machine.
It aims to illustrate what the inner dev loop will look like for the team members that need to update the deployment image.
Further tutorials will be supplied on how you can migrate that to a full image for deploying onto a device but let's get the basics done first.
Notes
This tutorial will use VM technology and a requires a native macOS or podman compatible linux machine in order to execute.
Windows is not supported due to the podman-bootc tool and running this in a VM on a host may not work.
Pre-Requisites (20 mins)
-
A working knowledge of git where you can clone and commit changes.
-
Install podman and podman-bootc
Create a Repository (5 mins)
In this section we are going to create a repository so we can define a custom image.
1. Clone the template: Go to the getting started and the Use this template button at the top right of the screen - Time (1 min)

2. Repository Options:
- Choose the
create repositoryoption - Select your preferred owner
- Make the project public
- Finally create a copy of the project.
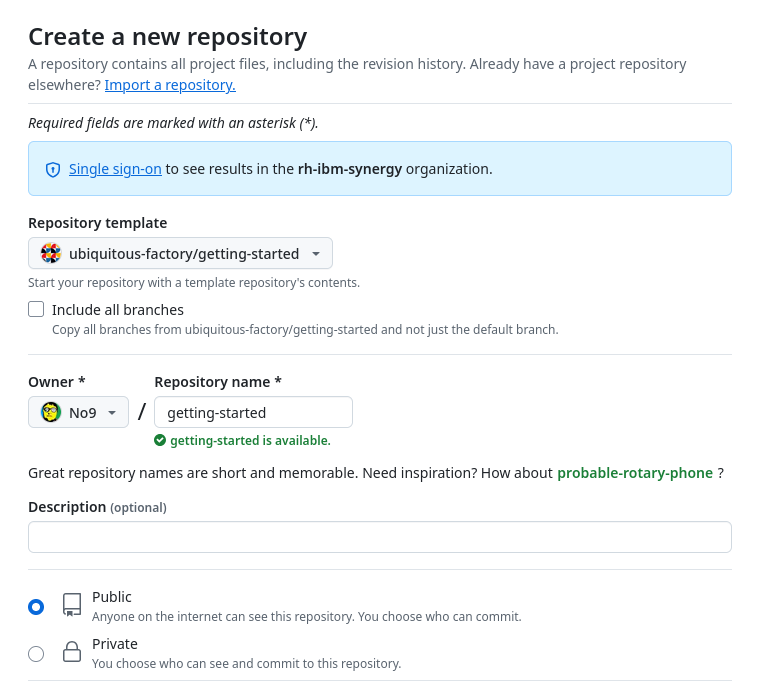
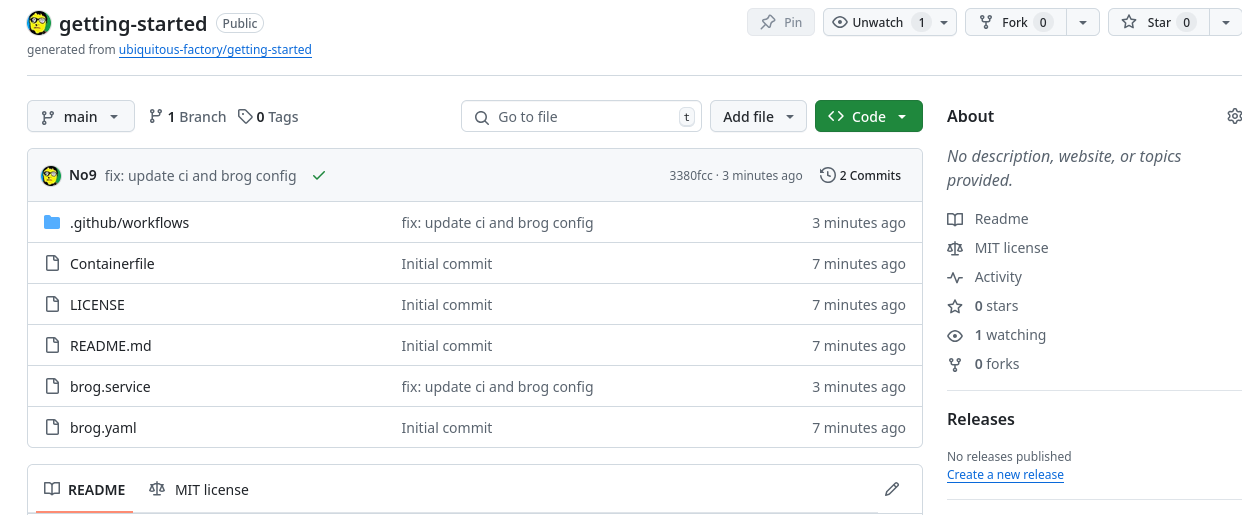
3. New Project: You should now have a pristine repo to work with
Configure CI/CD (20 mins)
1. Clone the repository:
2. Update the image name: In .github.workflows/build-push.yaml change the IMAGE_NAME: variable to the name of the project
e.g.
3. Update the registry name: In .github.workflows/build-push.yaml change the REGISTRY: variable to the name of the ghcr.io/OWNERNAME
e.g.
4. Update the brog client:
* In the github project website click on the brog.yaml file
* Click the raw button on the top left.
* Copy the URL in the navigation bar
* Edit the Environment=ENDPOINT= in the brog.service file and set value to be the location of the brog.yaml file in your new repo
e.g.
Environment=ENDPOINT=https://raw.githubusercontent.com/No9/getting-started/refs/heads/main/brog.yaml
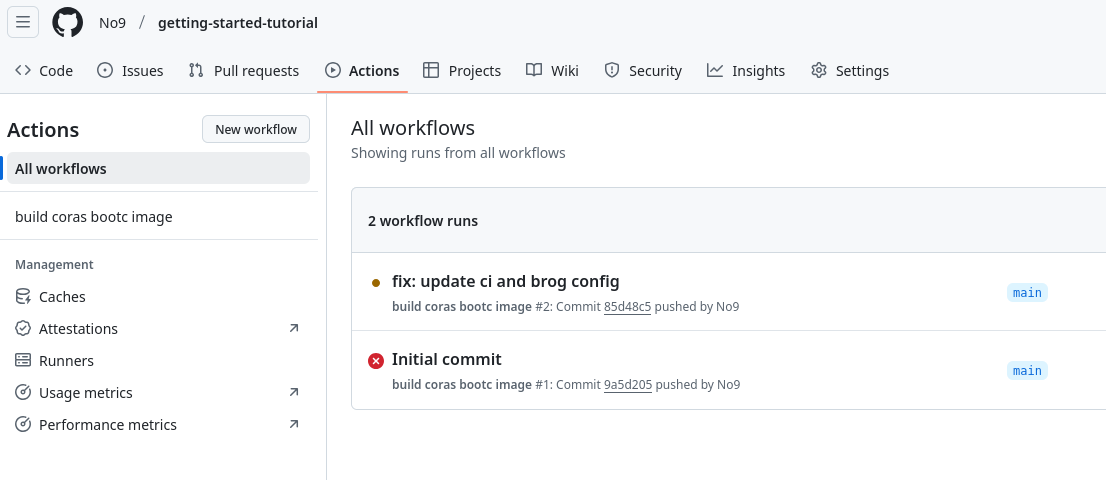
5. Commit the changes
6. Monitor the build: The build should take ~5 mins to run and will generate a package in the repository
7. Make the package public: Documentation on making the package public is available here but the following steps should work.
- select the package name on the right
- select
package settings - scroll to the bottom of the package settings page and click the change visibility button ands set to Public.
8. Run the image - Now the image is ready to run in the virtual machine e.g.
podman-bootc run --filesystem xfs ghcr.io/no9/getting-started:3380fcc0757aae54f7b2483e2b707a9284f03612
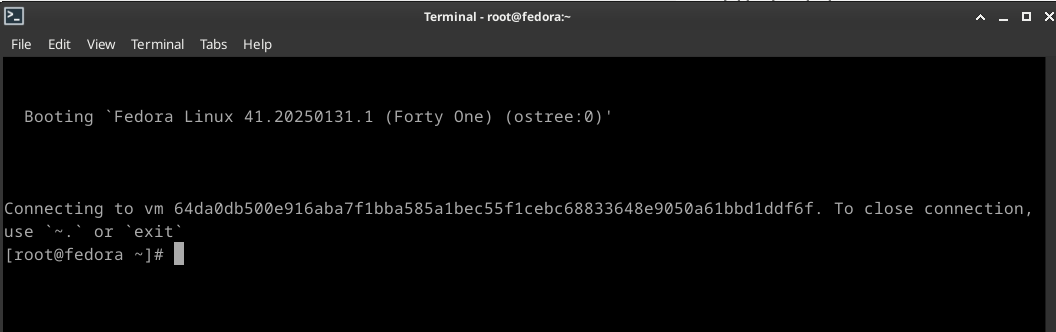
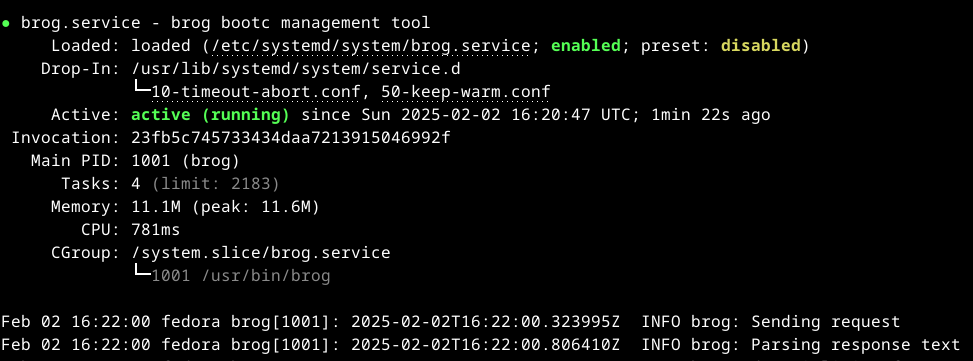
9. Inspect the brog status: In the terminal run the following command
Use GitOps to update the image
1. Update the container file: Add the following line to the Containerfile
3. Monitor the build: The build should take ~5 mins to run and will generate a package in the repository
4. Deploying with Brog: Now edit the brog.yaml to match the new build image definition that contains the LICENSE file. It will be the top option in the package screen. Note we have added a - to fix the format issue
e.g.
6. Applying the update: The update should be automatically applied and your terminal session to the vm should be closed.
8. Login to the server: As the session was closed you need to login to the server again.
9. Validate the upgrage: Check the LICENSE file is present ```bash cat /etc/LICENSE MIT License
Copyright (c) 2025 Ubiquitous Factory
Permission is hereby granted, free of charge, to any person obtaining a copy of this software and associated documentation files (the "Software"), to deal in the Software without restriction, including without limitation the rights to use, copy, modify, merge, publish, distribute, sublicense, and/or sell copies of the Software, and to permit persons to whom the Software is furnished to do so, subject to the following conditions:
The above copyright notice and this permission notice shall be included in all copies or substantial portions of the Software.
THE SOFTWARE IS PROVIDED "AS IS", WITHOUT WARRANTY OF ANY KIND, EXPRESS OR IMPLIED, INCLUDING BUT NOT LIMITED TO THE WARRANTIES OF MERCHANTABILITY, FITNESS FOR A PARTICULAR PURPOSE AND NONINFRINGEMENT. IN NO EVENT SHALL THE AUTHORS OR COPYRIGHT HOLDERS BE LIABLE FOR ANY CLAIM, DAMAGES OR OTHER LIABILITY, WHETHER IN AN ACTION OF CONTRACT, TORT OR OTHERWISE, ARISING FROM, OUT OF OR IN CONNECTION WITH THE SOFTWARE OR THE USE OR OTHER DEALINGS IN THE SOFTWARE. ```
Well done you've successfully used brog with bootc.
Next steps
You may have noticed the updating the brog.yaml file also generated a new build.
This is obviously not ideal so the configuration for the deployment should be kept in a separate repository.
Once you have an image that you want to deploy you should evaluate bootc-image-builder or consider setting up a PXE environment.